Up and Running in 10 Minutes
If you want first to start Nidam without going through the documentation first, Read this.
Requirement
Start up a MySQL database version 8 and create a schema called identity_hub.
Running Nidam Microservices
User Registration Microservice
Get this repo https://github.com/Mehdi-HAFID/registration
The first time you run the registration backend you will have to uncomment two portions of code so that database tables are generated.
spring.sql.init.mode=always
spring.jpa.generate-ddl=true
And
@Value("#{${custom.authorities}}")
private List<String> authorities;

@Bean
ApplicationRunner configureRepository(AuthorityRepository authorityRepository) {
	return args -> {
		for (String authority : authorities) {
			Authority auth = new Authority(authority);
			authorityRepository.save(auth);
		}
	};
}
You must change to your MySQL credentials in application.properties. Defaults are listed below
spring.datasource.url=jdbc:mysql://localhost:3306/identity_hub
spring.datasource.username=root
spring.datasource.password=CcmN*`6@3T9H%P#yg^V<7v
Run the application using: mvn spring-boot:run. Check that the tables are created in the schema.
Authorization Server Microservice
Get this repo https://github.com/Mehdi-HAFID/token-generator and run it using: mvn spring-boot:run.
Resource Server Microservice
Get this repo https://github.com/Mehdi-HAFID/nidam and run it using: mvn spring-boot:run.
Reverse Proxy Microservice
Get this repo https://github.com/Mehdi-HAFID/reverse-proxy and run it using: mvn spring-boot:run.
BFF Microservice
Get this repo https://github.com/Mehdi-HAFID/bff and run it using: mvn spring-boot:run.
Nidam SPA
Get this repo https://github.com/Mehdi-HAFID/nidam-spa and run it using: npm start. npm will automatically open
the link http://localhost:4001/react-ui/signup this is not how we will access the SPA, but through the BFF (explained in the documentation).
Go to http://localhost:7080/react-ui instead.
Using Nidam
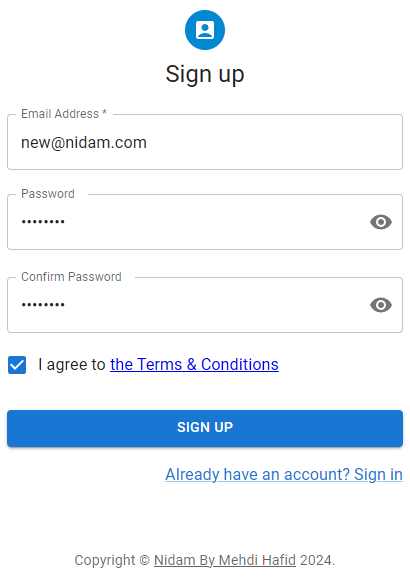
Register a User

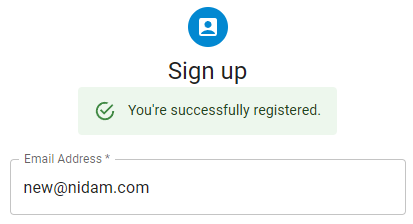
Success Message

Login
Now we will log in with the account we just created. Click on Already have an account? Sign in. You will be redirected from the SPA to
the authorization server. Enter the credentials and click Sign in
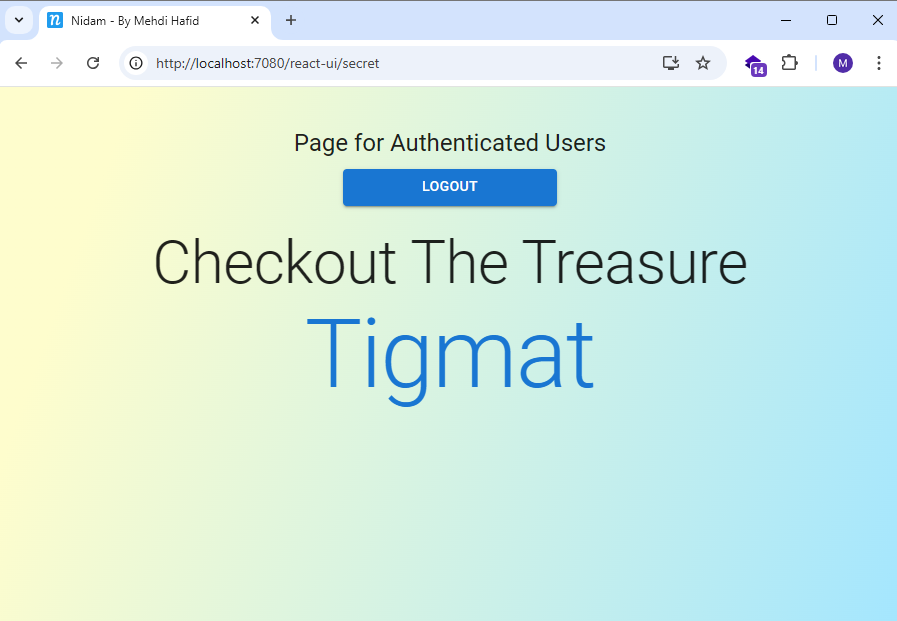
Access Secured Backend Endpoint
You will be redirected to the SPA private page /secret. This page will call the resource server secured endpoint /demo which
returns the object org.springframework.security.core.Authentication and prints it in the console.


Next: You Code
In the resource server is where your backend code will go. and you can use the SPA for your frontend. Nidam takes cares of everything else for you once you've configured it to suit your needs.
Continue reading the documentation in the next pages to know every detail about nidam.
